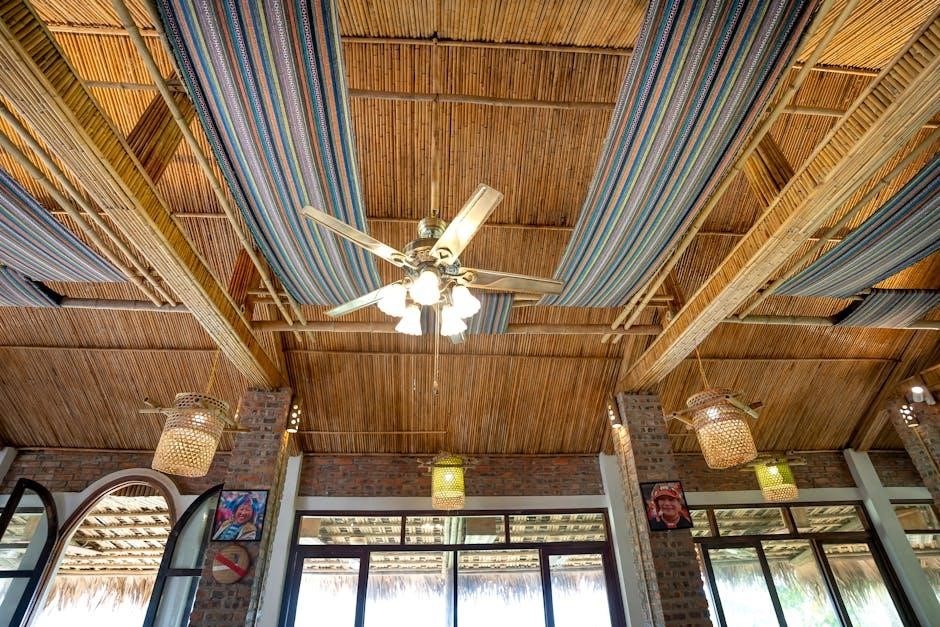
Installing a ceiling fan enhances comfort and efficiency, adding both function and style to any room. This guide, inspired by the Harbor Breeze manual, will help you!
Ceiling fans are practical, improving airflow, lowering energy costs, and boosting aesthetics – a valuable upgrade for any home environment.
A wide variety of styles, sizes, and price points are available, ensuring a perfect fit for your needs and preferences.
Understanding Ceiling Fan Benefits
Ceiling fans offer a multitude of advantages beyond simple air circulation. They significantly enhance comfort levels within a room, creating a more pleasant living environment year-round. Beyond comfort, they contribute to substantial energy savings by reducing reliance on air conditioning, lowering monthly utility bills.
Fans improve airflow, distributing heated or cooled air more effectively, leading to consistent temperatures throughout the space. Aesthetically, they add a stylish element, complementing various interior designs with diverse styles and finishes.
Choosing the right fan can also increase a home’s value, appealing to potential buyers seeking energy-efficient and comfortable living spaces. They are a practical and attractive investment.
Safety Precautions Before Installation
Prioritize safety before commencing any ceiling fan installation. Always disconnect power at the circuit breaker to prevent electrical shock – this is non-negotiable. Ensure the ceiling joist can adequately support the fan’s weight; improper support can lead to dangerous failures.
Use a sturdy ladder and maintain a safe working height. Wear appropriate safety glasses to protect your eyes from falling debris. Carefully read and understand all manufacturer’s instructions before beginning;
If you are uncomfortable with electrical work, consult a qualified electrician. Ignoring these precautions could result in serious injury or property damage.

Tools and Materials Needed
Essential tools include screwdrivers, pliers, wire cutters, and a ladder. You’ll also require the fan, mounting bracket, hardware, and appropriate wiring connectors.
Gather everything beforehand for a smooth, efficient installation process, avoiding frustrating mid-project interruptions.
Essential Tools for Installation
A comprehensive toolkit is crucial for a successful ceiling fan installation. You’ll absolutely need a screwdriver set – both Phillips head and flathead – to handle various screws. Pliers are essential for gripping and bending wires, ensuring secure connections.
Wire cutters and strippers are vital for safely preparing the electrical wires. A sturdy ladder or step stool is non-negotiable for comfortably reaching the ceiling. Don’t forget a circuit tester to verify power is off!
Measuring tape, a level, and potentially a drill (depending on your ceiling joist) complete the core toolset. Safety glasses are also highly recommended to protect your eyes.
Required Hardware and Components
Beyond the tools, specific hardware is essential. The ceiling fan itself, naturally, is the primary component! A mounting bracket, designed to securely attach to the ceiling joist, is critical for safety. You’ll need wire connectors (wire nuts) to join the electrical wires correctly.
Screws of various sizes are required for assembling the fan and attaching it to the bracket. A downrod, if needed for higher ceilings, must be compatible with your fan.
Finally, ensure you have a rubber strain relief to protect the wires where they enter the fan housing, and potentially a canopy to conceal the mounting hardware.

Preparing for Installation
Prior to starting, safety is paramount! Turn off power at the circuit breaker and carefully assess the ceiling joist for adequate support. Remove the existing fixture.
Gather all necessary tools and components, ensuring a smooth and efficient installation process, minimizing potential delays.
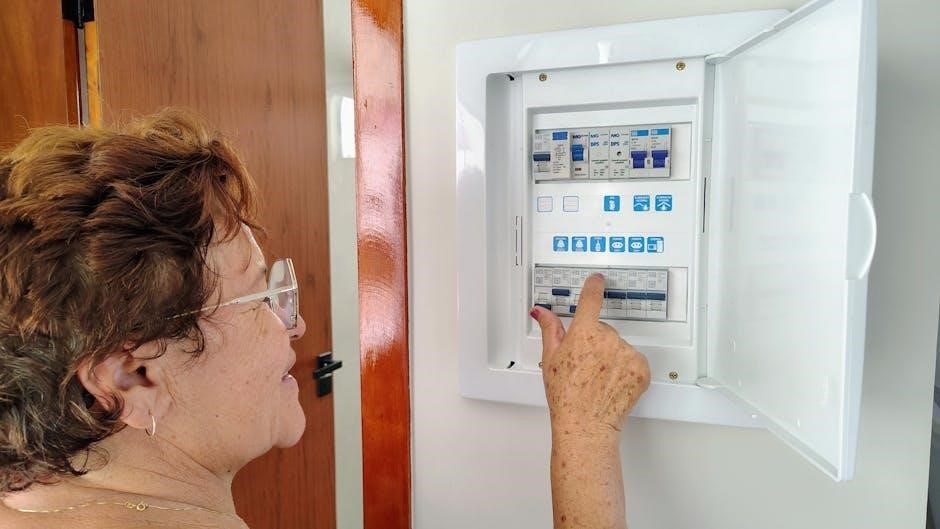
Turning Off Power at the Circuit Breaker
Before commencing any electrical work, absolutely ensure the power supply to the ceiling fixture is completely disconnected at the circuit breaker. This is a non-negotiable safety precaution to prevent electrical shock or damage.
Locate the circuit breaker controlling the room’s lighting or the specific circuit serving the existing fixture. Flip the breaker to the “OFF” position.
Double-check that the power is off by testing the wires with a non-contact voltage tester. If the tester indicates voltage, the correct breaker hasn’t been switched off – proceed with caution and re-verify. Safety first!
Assessing the Ceiling Joist and Support
Crucially, a ceiling fan requires robust support. Locate a ceiling joist capable of bearing the fan’s weight and dynamic movement. Standard electrical boxes are often insufficient; a fan-rated box is essential.
If a suitable joist isn’t directly accessible, you may need to install a fan brace between two joists. These braces provide the necessary support for safe operation.
Verify the joist’s integrity – it shouldn’t be damaged or weakened. Ensure the mounting location can securely accommodate the fan’s weight and vibrations throughout its lifespan.
Removing Existing Light Fixture
Before beginning, absolutely ensure the power is OFF at the circuit breaker! Carefully lower the existing light fixture. Disconnect the wires, noting their connections – typically black to black (hot), white to white (neutral), and green or bare copper to green (ground).
Use a screwdriver to loosen the mounting screws or nuts. Support the fixture’s weight as you disconnect it to prevent damage or strain on the wiring.
Inspect the wiring for any signs of damage. If necessary, replace damaged wires before proceeding with the ceiling fan installation.

Installing the Mounting Bracket
Securely attach the mounting bracket to the ceiling joist using appropriate screws. Ensure it’s firmly in place, capable of supporting the fan’s weight safely;
Double-check the bracket’s stability before proceeding, as this is crucial for a safe and wobble-free installation.
Attaching the Bracket to the Ceiling Joist
Carefully position the mounting bracket against the ceiling joist, aligning it with pre-drilled holes or marking new ones for secure attachment. Utilize screws specifically designed for ceiling fan installations, ensuring they are long enough to penetrate the joist deeply for maximum support.
Employ a screwdriver to firmly fasten the bracket, avoiding over-tightening which could strip the screw holes. If the joist isn’t directly accessible, consider using a fan-rated brace to provide a stable mounting point. Always prioritize a robust connection, as the bracket bears the entire weight of the fan.
Verify the bracket is flush against the ceiling and doesn’t exhibit any wobble before moving forward.
Ensuring Secure Mounting
After attaching the bracket, rigorously test its stability. Gently but firmly attempt to move it in various directions – up, down, and sideways. Any movement indicates insufficient support and requires immediate re-evaluation of the attachment points.
Double-check that all screws are fully tightened, but avoid over-tightening to prevent damage to the ceiling or bracket. A fan-rated brace is crucial if a solid joist isn’t directly accessible, providing essential reinforcement.
A secure mount is paramount for safety; a falling fan poses significant risk. Prioritize a wobble-free, robust connection before proceeding.

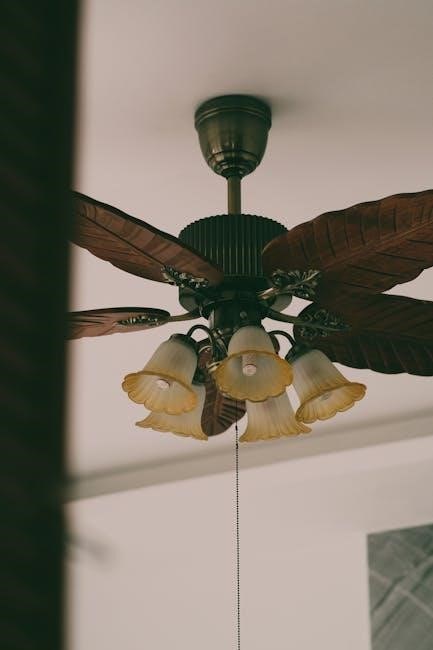
Assembling the Ceiling Fan
Begin by carefully connecting the downrod to the fan motor housing, ensuring a secure fit. Then, methodically attach the fan blades to the blade holders.
Follow the manual’s diagrams closely for correct blade orientation and screw tightening to guarantee balanced operation.
Connecting the Downrod
Carefully thread the wires from the motor through the downrod. Align the pin within the downrod with the corresponding hole in the motor housing. Gently lift the downrod and ensure it seats firmly into the motor assembly.
Secure the downrod using the provided set screws, tightening them firmly with an Allen wrench. Do not overtighten, as this could damage the motor housing. Verify the downrod is securely attached before proceeding, as a loose connection can cause instability and potential safety hazards during operation.
Double-check that all wires are neatly tucked inside the downrod to prevent interference with the rotating fan blades.
Attaching the Fan Blades
Align each fan blade with the blade bracket, ensuring the correct orientation as indicated in the diagrams. Secure each blade to the bracket using the provided screws. Tighten the screws firmly, but avoid overtightening to prevent damage to the blade or bracket.
Once all blades are attached to their brackets, carefully attach the blade assemblies to the motor housing. Ensure each assembly is securely fastened with the appropriate screws. Verify that all blades are balanced and aligned for optimal performance and to minimize wobble.
Inspect each connection for tightness before moving forward.

Wiring the Ceiling Fan
Connect the wires carefully, matching colors (black to black, white to white) and securing with wire connectors. Ground the fan using the green or bare copper wire for safety.
Connecting the Wires (Color Coding)
Carefully identify the wires from both the ceiling and the fan. Typically, black wires are for hot (power), white wires are neutral, and green or bare copper wires are for grounding. Connect black to black, white to white, and ensure the ground wires are securely joined.
Use appropriately sized wire connectors, twisting them firmly onto the wires. Double-check all connections to prevent shorts or loose wiring. If your fan has a blue wire, it’s usually for the light kit and connects to the corresponding wire in the ceiling.
Always verify the wiring configuration before proceeding, and if unsure, consult a qualified electrician.
Grounding the Fan
Proper grounding is crucial for safety, preventing electrical shock. Connect the fan’s green or bare copper ground wire to the grounding wire in the ceiling electrical box – typically a green screw or bare wire. Ensure a secure connection, tightly fastening the wires together with a wire connector.
If your ceiling box isn’t grounded, consult an electrician to install a grounded box. Never skip grounding, as it’s a vital safety measure. A properly grounded fan redirects stray electricity safely.
Verify the grounding connection before restoring power to the circuit.
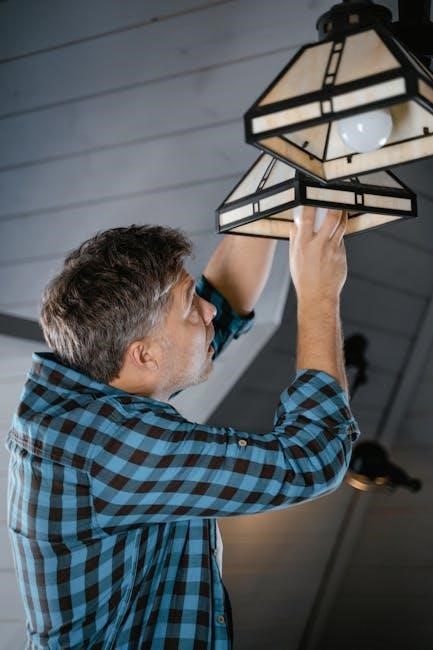
Mounting the Fan to the Bracket
Carefully lift the fan assembly and align it with the mounting bracket. Securely attach the fan, ensuring it’s stable and properly supported before releasing your grip.
Lifting and Securing the Fan
With assistance, carefully lift the assembled fan towards the mounting bracket, supporting its weight to prevent strain on the wiring or components. Align the fan’s mounting holes with those on the bracket, ensuring a flush and secure fit.
Begin threading the provided screws through the holes, tightening them gradually in a crisscross pattern. This distributes the weight evenly and prevents wobbling. Do not fully tighten until all screws are in place.
Double-check that the fan housing is firmly seated against the bracket, with no gaps or misalignment. Once satisfied, fully tighten all screws, ensuring a robust and stable connection.
Checking Stability
Before restoring power, gently but firmly attempt to move the fan housing in all directions – up, down, side to side, and rotationally. Any noticeable wobble or looseness indicates a problem with the mounting or screw tightening.
If instability is detected, immediately turn off the power at the circuit breaker and re-examine the mounting bracket and screw connections. Ensure all screws are fully tightened and the bracket is securely attached to the ceiling joist.
A stable fan is crucial for safe operation and longevity. Repeat the stability check until you are confident the fan is firmly and securely mounted.

Final Checks and Testing
Restore power at the breaker and test all fan speeds and light functions. Address any issues immediately, consulting the manual for troubleshooting steps.
Confirm proper rotation direction for seasonal comfort, and ensure lights operate as expected.
Restoring Power and Testing Operation
Carefully restore power to the circuit at the breaker panel, observing all safety precautions. Once power is on, thoroughly test the ceiling fan’s operation across all speed settings – low, medium, and high – to confirm proper functionality.
Verify the fan blades rotate smoothly and quietly at each speed. If lights are integrated, test them independently to ensure they illuminate correctly. Pay attention to any unusual noises or vibrations, which could indicate a loose connection or imbalance.
Confirm the fan’s direction switch operates as intended, allowing for seasonal adjustments for optimal airflow. A properly functioning fan should provide noticeable and comfortable air circulation.
Troubleshooting Common Issues
If the fan doesn’t operate, first recheck the circuit breaker and wiring connections. Wobbling can often be resolved by balancing the blades using the provided balancing kit, ensuring even weight distribution.
For noisy operation, tighten all screws and connections, including those on the mounting bracket and blade holders. If lights flicker, verify the bulb wattage is compatible and the wiring is secure.
If issues persist, consult the full installation manual or a qualified electrician for assistance, prioritizing safety and proper functionality.
Ceiling Fan Maintenance
Regular maintenance ensures optimal performance and longevity. Cleaning blades and tightening connections are key to keeping your ceiling fan functioning efficiently!
Consistent upkeep prevents wobbling, noise, and potential safety hazards, maintaining a comfortable and reliable cooling solution.
Cleaning Fan Blades
Dust accumulation on fan blades reduces efficiency and can affect balance. To clean, turn off the fan and use a soft brush or microfiber cloth.
For stubborn dirt, a slightly damp cloth with mild detergent can be used, ensuring the blades are completely dry before operation. Consider using a pillowcase to cover each blade, sliding it off to collect dust – a mess-free method!
Regular cleaning, ideally monthly, maintains airflow and prevents dust from falling into the motor, prolonging the fan’s lifespan and ensuring optimal performance.
Tightening Screws and Connections
Regularly inspect all screws and connections within your ceiling fan to ensure stability and prevent unwanted noise. Loose screws can cause wobbling and potentially lead to more serious issues.
Focus on the blade brackets, mounting bracket, and downrod connections. Gently tighten each screw, avoiding over-tightening which could strip the threads or damage components.
This preventative maintenance, performed every six months, safeguards against falls and maintains smooth, quiet operation, extending the life of your ceiling fan significantly.