Honeywell Pro 8000 Installation Manual: A Comprehensive Plan
This manual details the installation of the Honeywell Pro 8000 thermostat, covering wiring, Wi-Fi setup, and advanced configurations for optimal home comfort control.
The Honeywell Pro 8000 is a sophisticated, Wi-Fi enabled thermostat designed to provide precise temperature control and energy savings. This thermostat offers a user-friendly interface with a current display, easily navigated through mode control buttons and a comprehensive menu system.
It supports various heating and cooling systems, and can be configured for conventional or heat pump setups. The Pro 8000 also allows for advanced IAQ (Indoor Air Quality) settings and installer options for customized performance.
This guide provides step-by-step instructions for installation, ensuring a smooth and efficient process. Remember to consult the product data sheet at forwardthinking.honeywell.com for detailed specifications and compliance information, including RoHS compliance details.
Package Contents & Verification
Upon opening the Honeywell Pro 8000 package, carefully verify all components are present. The standard package should include the Pro 8000 thermostat unit itself, the base plate for mounting, mounting screws and anchors, wire labels for easy identification, and this installation manual.
Additionally, check for the THP9045A1023 Wire Saver module if your system requires a common wire solution with limited wiring. Inspect all items for any signs of damage during shipping.
If any components are missing or damaged, do not proceed with installation. Contact Honeywell Home support immediately at 1-800-633-3991 to request replacements. Proper verification ensures a successful and trouble-free installation process.
Safety Precautions
Prior to installation, observe all safety guidelines. Electrical Safety is paramount: always disconnect power to your heating and cooling system at the breaker box before commencing any wiring work. Never use sharp objects – pencils or pens – to interact with the touchscreen, as this can cause damage.
Battery Handling requires caution. This thermostat contains a Lithium battery, potentially including Perchlorate material, necessitating special handling and disposal procedures.
Follow all local regulations for battery disposal. Ensure the installation area is dry and free from obstructions. If unsure about any step, consult a qualified HVAC technician. Ignoring these precautions could result in damage or injury.
Electrical Safety Warnings
Crucially, disconnect power at the breaker box before beginning any wiring procedures. Failure to do so presents a serious risk of electrical shock or damage to the system. Do not work with wet hands or in damp environments. Verify the power is off using a non-contact voltage tester.
Incorrect wiring can lead to short circuits and potential fire hazards. If you are uncomfortable working with electrical wiring, consult a qualified HVAC professional. Always adhere to local electrical codes and regulations. Ensure all connections are secure and properly insulated.
Double-check all wiring before restoring power.
Battery Handling & Disposal (Lithium/Perchlorate)
This thermostat contains a Lithium battery, which may include Perchlorate material. Special handling and disposal procedures are required due to the potential environmental and health hazards. Do not incinerate, puncture, or disassemble the battery.

Follow all local, state, and federal regulations for battery disposal. Recycle the battery whenever possible through designated collection programs. Improper disposal can contaminate soil and water sources. Keep batteries away from children and pets.
Contact your local waste management authority for specific disposal guidelines. Avoid contact with battery contents if damaged.
Tools Required for Installation
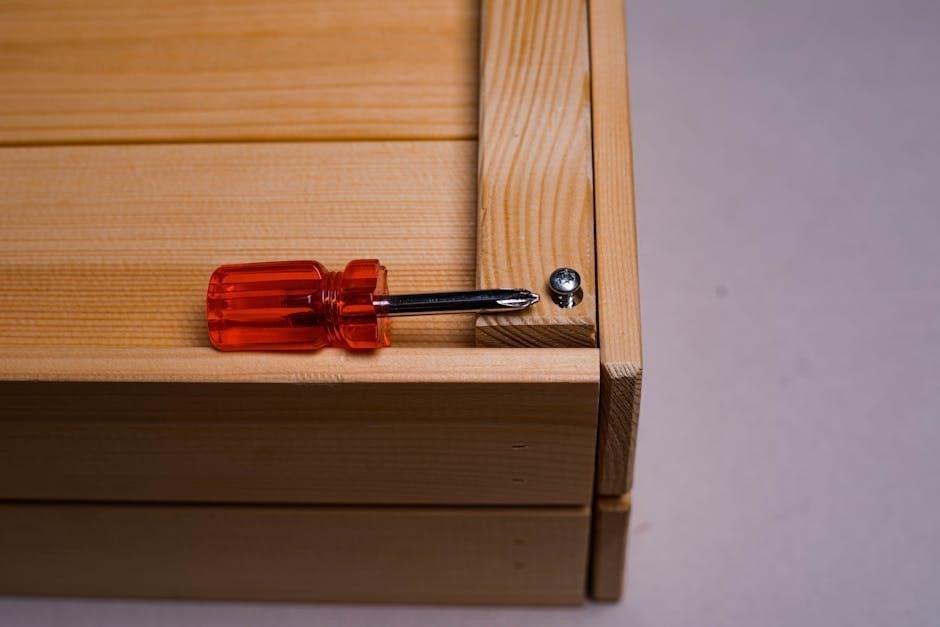
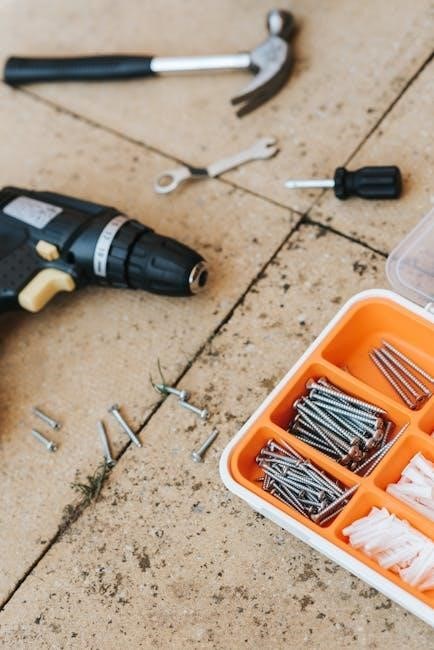
Successful installation of the Honeywell Pro 8000 requires a few essential tools. A small flathead screwdriver is needed for terminal connections and base plate mounting. A Phillips head screwdriver will secure the thermostat to the wall. Wire strippers are crucial for preparing existing thermostat wires for connection.
A level ensures the thermostat is mounted straight for aesthetic appeal and accurate readings. A digital multimeter is helpful for verifying power and voltage levels. Be careful not to use sharp objects like pencils or pens to press touchscreen keys, as this can cause damage.
Additionally, a wire connector kit may be useful for joining wires if needed.
System Compatibility Check
Before installation, verify your heating and cooling system’s compatibility with the Honeywell Pro 8000. This thermostat supports a wide range of systems, but confirming compatibility prevents issues.
Supported Heating Systems include most conventional gas, oil, and electric furnaces. Supported Cooling Systems encompass central air conditioning units and heat pumps. The Pro 8000 can handle systems requiring a common (C) wire, or utilize the K terminal as a workaround when a C wire isn’t present.

Ensure your system doesn’t utilize line voltage (110V/220V) as the Pro 8000 is designed for low-voltage systems.
Supported Heating Systems

The Honeywell Pro 8000 thermostat is compatible with a broad spectrum of heating systems commonly found in residential settings. This includes conventional forced-air furnaces powered by natural gas, propane, or heating oil. Electric furnaces, baseboard heaters, and radiant heating systems are also generally supported, offering versatile climate control options.
However, compatibility depends on the system’s voltage and wiring configuration. The Pro 8000 is designed for low-voltage systems only; line voltage systems are not supported. Confirm your existing system operates at 24VAC before proceeding with installation to avoid potential damage.
Supported Cooling Systems
The Honeywell Pro 8000 thermostat seamlessly integrates with a variety of cooling systems to provide efficient and reliable temperature management. This includes central air conditioning systems utilizing standard compressor control wiring. It also supports heat pump systems, offering both cooling and heating capabilities from a single unit.
Compatibility extends to dual-fuel systems, where the thermostat intelligently switches between gas and electric heating based on outdoor temperature and efficiency. Like heating systems, the Pro 8000 is designed for 24VAC low-voltage cooling systems. Verify your system’s voltage before installation to ensure proper operation and prevent damage.
Wiring Considerations
Proper wiring is crucial for the successful installation and operation of your Honeywell Pro 8000 thermostat. Before beginning, carefully identify your existing wiring configuration at the old thermostat. Document each wire’s terminal connection for accurate replication. The THP9045A1023 Wire Saver module is invaluable when a common wire (C) is missing, particularly in four-wire systems needing a fifth wire for power.
Utilizing the K terminal offers a clever solution, repurposing an unused wire as a common wire by controlling both the fan and compressor through a single connection. Always remove the factory-installed jumper for systems utilizing two transformers.
Identifying Existing Wiring
Accurate identification of existing thermostat wiring is the first critical step. Before disconnecting any wires, meticulously document each wire’s connection to its respective terminal on the old thermostat. This documentation will serve as your guide during the installation of the Honeywell Pro 8000.
Pay close attention to wire colors, but always verify by the terminal letter. Common terminals include R (power), W (heat), Y (cool), G (fan), and C (common). Note any unusual wiring configurations or unmarked wires. A clear understanding of your existing setup prevents errors and ensures seamless integration with the new thermostat.
Using the THP9045A1023 Wire Saver Module
The THP9045A1023 Wire Saver module is invaluable when a common (C) wire is missing in four-wire heat/cool systems. This module effectively creates a common wire, eliminating the need to run new wiring. Connect the module to the existing R, Y, G, and W wires at the thermostat location.
The module then provides a dedicated C wire connection for the Pro 8000. Utilizing the K terminal in place of Y and G terminals allows control of both fan and compressor via a single wire, repurposing the unused wire as the common wire. This simplifies installation and avoids complex wiring modifications.

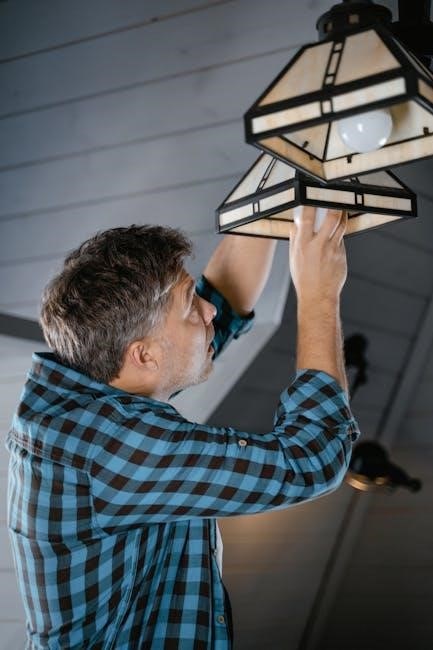
Removing the Old Thermostat
Before installing the Honeywell Pro 8000, carefully remove your existing thermostat. First, power off the HVAC system at the breaker to prevent electrical shock. Gently remove the thermostat cover, exposing the wiring terminals.
Carefully label each wire with its corresponding terminal designation – R, Y, G, W, C, etc. – using the provided wire labels. Take a photograph for reference. Disconnect the wires one at a time, avoiding shorts. Once all wires are disconnected, remove the old base plate from the wall.
Mounting the Pro 8000 Base Plate
With the old thermostat removed, prepare to mount the Pro 8000 base plate. Position the base plate on the wall, ensuring it’s level. Use the provided screws and wall anchors if necessary, particularly if mounting to drywall.
Mark the screw locations with a pencil, then drill pilot holes if needed. Securely attach the base plate to the wall, ensuring it’s firmly mounted. Route the thermostat wires through the opening in the base plate. Verify the wires are neatly arranged and not pinched before proceeding to the wiring stage.
Wiring the Honeywell Pro 8000
Carefully connect the thermostat wires to the appropriate terminals on the Pro 8000 base plate. For conventional systems, match the wire labels to the corresponding terminals (R, W, Y, G, C). Heat pump systems require different wiring configurations; consult the wiring diagram specific to your system.
If you have only four wires, utilize the THP9045A1023 Wire Saver module to create a common wire. Alternatively, the K terminal can substitute for Y and G, establishing a common wire from an unused wire. Remove the factory-installed jumper for two-transformer systems before connecting wires.
Conventional System Wiring
For standard heating and cooling systems, connect the wires according to the following: R (power), W (heat), Y (cool), G (fan), and C (common). Ensure the power is OFF before commencing any wiring. Match the wire labels from your old thermostat to the corresponding terminals on the Pro 8000 base plate.
Double-check all connections for tightness and accuracy. A secure connection is crucial for proper operation. If a C wire isn’t present, consider using the THP9045A1023 Wire Saver or the K terminal method to establish a common wire, ensuring compatibility and functionality.
Heat Pump System Wiring
Heat pump systems require specific wiring configurations. Connect the wires as follows: R (power), Y (compressor), G (fan), W1 (heat – 1st stage), and W2 (heat – 2nd stage). A common wire (C) is essential for reliable operation. Verify the correct wiring sequence based on your heat pump’s specific setup.
If a C wire is unavailable, utilize the THP9045A1023 Wire Saver module or the K terminal as an alternative. Remember to remove the factory-installed jumper for two-transformer systems. Carefully review the wiring diagram to ensure accurate connections and prevent system malfunctions.
Utilizing the K Terminal for Common Wire
The K terminal offers a solution when a dedicated common wire (C) isn’t present; It allows control of both the fan and compressor through a single wire, effectively repurposing an unused wire as the common wire. This is applicable to both conventional and heat pump systems.
Instead of connecting to the Y and G terminals individually, route those connections through the K terminal. This simplifies wiring in older systems lacking a C wire. Ensure proper configuration within the thermostat’s settings to recognize the K terminal’s function. This method provides a reliable power source for the thermostat’s operation.
Connecting to Wi-Fi
Establishing a Wi-Fi connection unlocks remote control and advanced features of your Honeywell Pro 8000. Navigate to the Wi-Fi settings within the thermostat’s menu system. The thermostat will scan for available networks; select your home network from the list.
Enter your Wi-Fi password carefully, ensuring accuracy. A successful connection is indicated by a Wi-Fi symbol on the display. This enables features like remote temperature adjustments, scheduling via the Honeywell Home app, and integration with other smart home devices. Troubleshooting connection issues may involve restarting the thermostat or router.
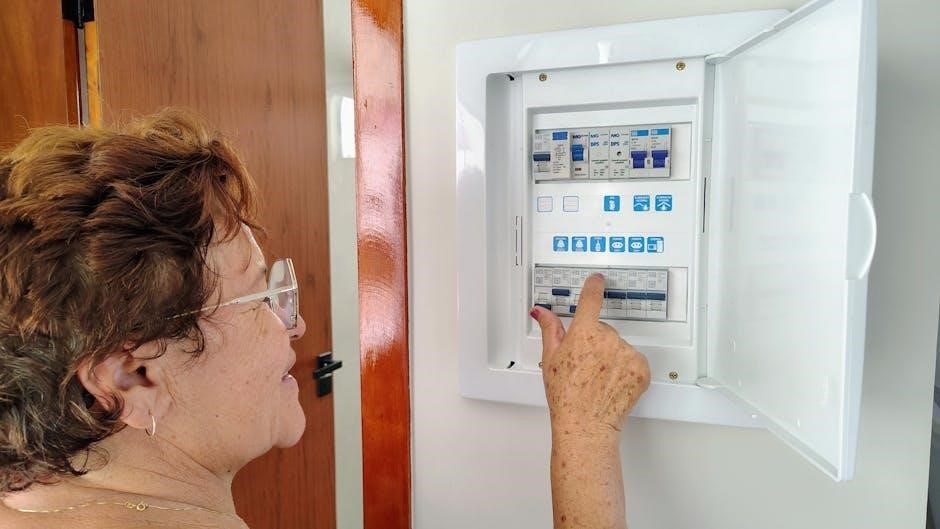
Initial Power-Up & Display Overview
Upon initial power-up, the Honeywell Pro 8000 will guide you through a brief setup process. The current display is clearly underlined, indicating the presently selected information. Familiarize yourself with the touchscreen interface and its responsive nature – avoid using sharp objects.
Mode control buttons allow easy switching between Fan and System (Heat/Cool) settings. The Menu button provides access to schedules, equipment status, IAQ settings, and installer options. Observe the Wi-Fi network indicator to confirm connectivity. The display provides a comprehensive overview of your system’s status.
Understanding the Current Display
The Pro 8000’s current display is a central hub for information. It clearly underlines the active setting, whether it’s temperature, mode, or schedule. Pay attention to icons indicating heating, cooling, fan operation, and Wi-Fi status. The display dynamically adjusts to show relevant data based on your selections.
Observe the setpoint temperature, the current room temperature, and the outdoor temperature (if connected). The display also provides quick access to system information and alerts. Understanding these visual cues is crucial for efficient operation and troubleshooting. Familiarize yourself with the layout for a seamless user experience.
Mode Control Buttons Functionality
The Mode control buttons are essential for adjusting your system. Use these buttons to seamlessly switch between Fan and System settings – Heat or Cool. These controls allow for precise adjustments to your home’s climate. Selecting ‘Fan’ controls only the fan operation, circulating air without heating or cooling. The ‘System’ mode manages both heating and cooling functions.
Experiment with these buttons to understand their impact on your comfort. Proper use ensures efficient energy consumption and optimal temperature control. These intuitive controls make managing your home’s climate simple and straightforward. Remember to observe the display for confirmation of your selected mode.
Navigating the Menu System
Accessing the menu is done via the ‘Menu’ button on the Honeywell Pro 8000. Within the menu, you’ll find options to set schedules, view equipment status, and adjust IAQ (Indoor Air Quality) settings. Installer options are also available for advanced configurations. The menu system is designed for intuitive navigation, allowing you to customize your thermostat’s functionality.
Use the touchscreen to scroll through options and select desired settings. Familiarize yourself with the menu structure to efficiently manage your home’s comfort; Explore each section to unlock the full potential of your thermostat. Remember to save any changes made within the menu.
Setting System Configuration
System configuration involves defining your heating and cooling setup within the Honeywell Pro 8000. Access this through the main menu, ensuring the thermostat accurately reflects your home’s system type. Options include conventional and heat pump systems, allowing for tailored control. Proper configuration is crucial for efficient operation and accurate temperature regulation.
Verify that the thermostat correctly identifies your wiring setup. If using a heat pump, specify the appropriate reversing valve configuration. Adjust settings to match your specific equipment for optimal performance. Incorrect settings can lead to inefficient operation or system malfunctions.
Programming Schedules
Schedule programming allows customized temperature settings throughout the day, optimizing comfort and energy savings. Access the scheduling function via the menu system, creating unique programs for weekdays and weekends. Define specific time periods and desired temperatures for each, tailoring to your lifestyle. The Pro 8000 supports multiple daily periods, offering granular control.
Utilize the intuitive interface to easily adjust schedules as needed. Consider setting back temperatures during sleep or when away to maximize efficiency. Review programmed schedules regularly to ensure they align with your routines. Proper scheduling significantly reduces energy consumption and enhances comfort.
IAQ Settings Configuration
The Honeywell Pro 8000 integrates with Indoor Air Quality (IAQ) accessories, enhancing home environment control. Access IAQ settings through the menu system to configure connected devices like humidifiers or ventilators. Monitor humidity levels and adjust settings to maintain optimal comfort and health. Configure ventilation schedules to introduce fresh air, improving indoor air quality.
Proper IAQ configuration requires compatible Honeywell Home accessories. Ensure devices are correctly paired with the thermostat for seamless operation. Review IAQ data regularly to identify potential issues and adjust settings accordingly. Optimizing IAQ settings contributes to a healthier and more comfortable living space.
Installer Options & Advanced Settings
The Honeywell Pro 8000 offers advanced settings accessible through the installer menu, requiring a passcode for entry. Configure system parameters like cycle rate and temperature differential for optimized performance. Adjust fan control settings to fine-tune airflow and comfort levels. Customize display options and configure alerts for specific system events.
Advanced settings allow for tailored system behavior, catering to unique installation requirements. Utilize the wire saver module (THP9045A1023) configuration options when a common wire is unavailable. Remember to remove the factory-installed jumper for two-transformer systems. Proper configuration ensures optimal system functionality and efficiency.
RoHs Compliance Information
Honeywell is committed to environmental responsibility. The Pro 8000 thermostat is designed to comply with the Restriction of Hazardous Substances (RoHS) directive. This means the product contains limited amounts of restricted materials like lead, mercury, cadmium, hexavalent chromium, polybrominated biphenyls (PBBs), and polybrominated diphenyl ethers (PBDEs).
The “RoHs Compliant” marking indicates adherence to these standards. Assembly occurs in Mexico (“Assembled in Mexico / Assemblé au Mexique”). Refer to forwardthinking.honeywell.com for the complete product data sheet and detailed compliance information. This commitment reflects Honeywell’s dedication to sustainable practices and minimizing environmental impact throughout the product lifecycle.
Troubleshooting Common Issues
If the display is blank, verify power supply to the thermostat and check wiring connections. For Wi-Fi connectivity problems, ensure the network is active and the password is correct. Incorrect temperature readings may indicate improper calibration or sensor issues; consult the menu settings. If the system doesn’t respond to commands, double-check compatibility with your heating/cooling system.
A factory reset (see procedure below) can resolve software glitches. Remember to remove the factory-installed jumper for two-transformer systems. Utilize the THP9045A1023 Wire Saver module if wiring is limited. Contact Honeywell support for persistent issues or complex system configurations.
Factory Reset Procedure
To perform a factory reset on the Honeywell Pro 8000, navigate to the menu system. Select “Installer Options,” then “Reset to Factory Defaults.” Confirm your choice when prompted; this will erase all personalized settings, schedules, and Wi-Fi configurations.
Note that a reset returns the thermostat to its original, out-of-box state. After the reset, you’ll need to re-establish the Wi-Fi connection and re-program your desired settings. This is useful for resolving persistent software issues or preparing the thermostat for a new user. Be careful, as all custom configurations will be lost.
Warranty Information
Honeywell provides a limited warranty for the Pro 8000 thermostat, covering defects in materials and workmanship for a specified period from the date of purchase. This warranty typically extends for one year, but specific terms and conditions may vary. The warranty does not cover damage resulting from improper installation, misuse, or unauthorized modifications.
To make a warranty claim, retain your proof of purchase and contact Honeywell Home customer support. Resideo Technologies, Inc., is the manufacturer, and warranty service is handled through them. Detailed warranty information, including exclusions and limitations, can be found on the Honeywell Home website or in the product documentation.
Contact Information & Support
For assistance with your Honeywell Pro 8000 installation or operation, several support channels are available. You can reach Honeywell Home customer support via phone at 1-800-633-3991. Additionally, extensive online resources, including FAQs, troubleshooting guides, and installation videos, are accessible on the Honeywell Home website.
Resideo Technologies, Inc., the manufacturer, also provides support through their website. For quick answers to common questions, explore the online knowledge base. If you require further assistance, you can submit a support request or chat with a live agent. Remember to have your model number and date of purchase ready when contacting support.
Product Data Sheet Location (forwardthinking.honeywell.com)
Access the comprehensive product data sheet for the Honeywell Pro 8000 thermostat by visiting forwardthinking.honeywell.com. This document provides detailed technical specifications, wiring diagrams, and compatibility information crucial for a successful installation. The data sheet outlines the thermostat’s features, dimensions, power requirements, and supported HVAC systems.
Furthermore, it includes important regulatory compliance information, such as RoHS compliance details, confirming the product meets environmental standards. The sheet also specifies the assembly location – Mexico in this case – and includes the date code for traceability. Downloading and reviewing this document before beginning installation is highly recommended for installers and homeowners alike.